How To Splice
With Brian Stack
Meet Brian Stack, Sunday River's Director of Lift Maintenance. Brian is responsible for overseeing the millions of moving parts that keep our 19 lifts spinning, all winter long. With decades of experience under his belt, he's one of the best in the industry and is a key member of the Barker 6 installation project.
What's A Haul Rope?
Before we dive in, what is a haul rope? In simple terms, the haul rope is the big metal rope that each chair is attached to. This rope is load-bearing and is powered by the drive bullwheel of the chairlift. The installation, and maintenance, of these haul ropes is an incredibly specialized skill that borders on witchcraft. Every chairlift you've ever ridden has had its rope sliced the same way. So how the heck does it work?
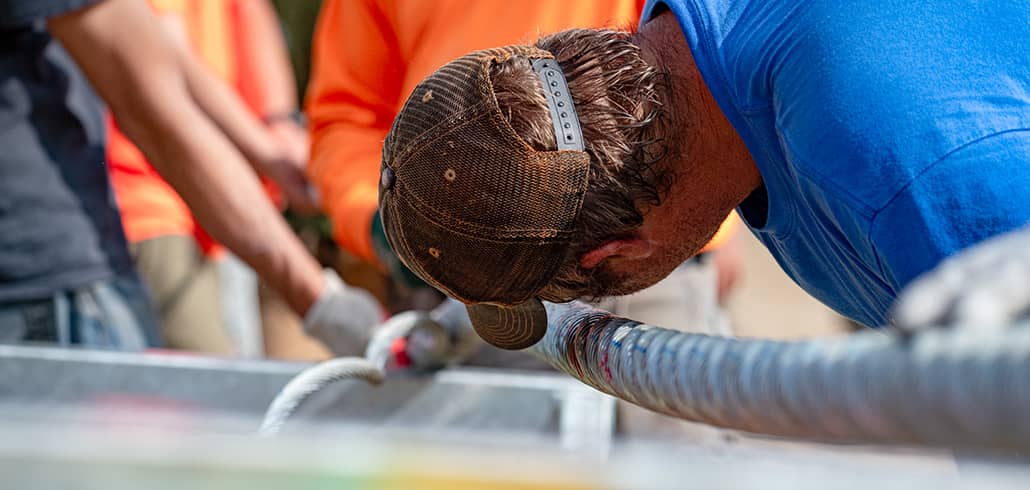
Step 1: Pull The Rope
"It all starts with pulling the haul rope through, through the equipment, through the machinery, and getting it laid out on each of the shiv trains", Brian says. Once the rope is in position, it is then secured and pulled to tension.
Brian explains that if we didn't tension the rope correctly prior to splicing, there would be too much slack in the rope to properly tension once complete, and the lift would not be operational. Conversely, if the rope is too tight, it can lift off of the shiv wheels, which is also a real problem. It's a delicate balance that occurs before any measuring or cutting is done. Once the rope is properly tensioned, the splice begins.
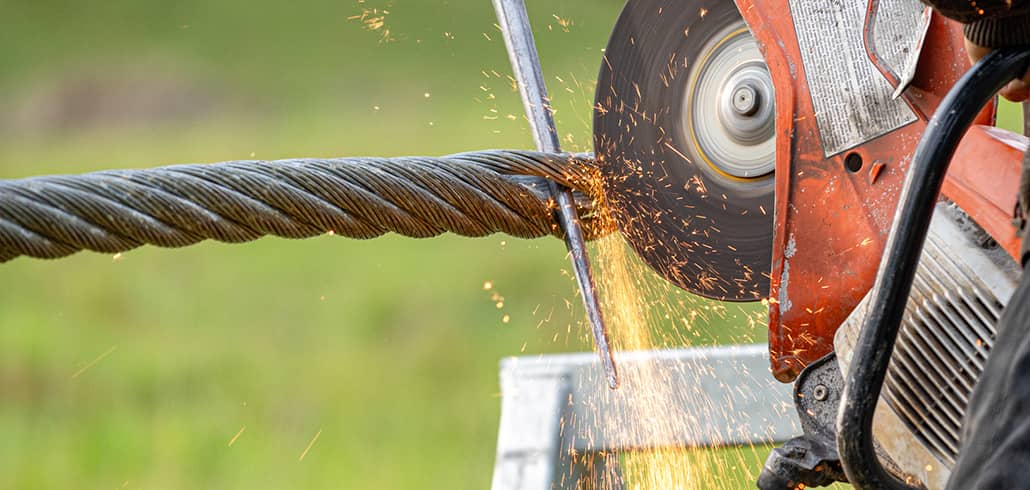
Step 2: Measuring, Cutting, and Unraveling
To begin, "We overlay the two ends of the rope, lay out a measuring tape to determine the length of the splice itself, which is formulated based on the diameter of the rope. For Barker 6 and Jordan 8, they’re essentially the same length, with each splice being about 240 feet".
The bigger the rope, the longer the splice, and the more load it can carry. Once these measurements are complete, the initial cut is made, and each end of the rope gets unraveled.
"Then we take each one of those strands, re-measuring, bringing the two ends of the rope together, and then cutting each strand to length to determine where the tuck points are." With all prep work completed, the marriage can begin.
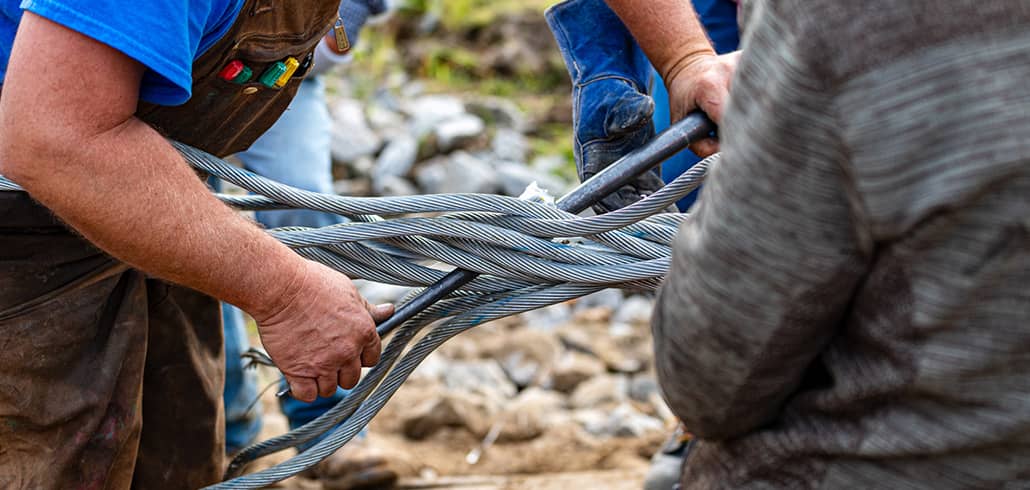
Step 3: Marriage
And this folks, is where the magic begins. To the untrained eye, the marriage of the two ends is a jumbled mess of strands going every which way, but to Justin Knight, of Knight Equipment Company, it's just another day on the job. Justin is one of the premier rope splicers in the world, and the trusted hand guiding both the Jordan 8, and Barker 6 rope splices.
Justin, with the help of about 35 sets of hands, pulls the two ends of the rope together, and methodically unravels one strand, while weaving the replacement strand in to hold the rope together. If this is hurting your brain, we're right there with you.
Step 4: Re-measure And Cut Again
Once the marriage is complete, the strands are re-measured and cut to their final length. This step turns them into the tails, which Brian explains, are what tuck into the rope, becoming the replacement for the center of the rope that is taken out during the splice.
The tails are anywhere from 6 to 10 feet long, depending on where they are, with tails going in both directions.
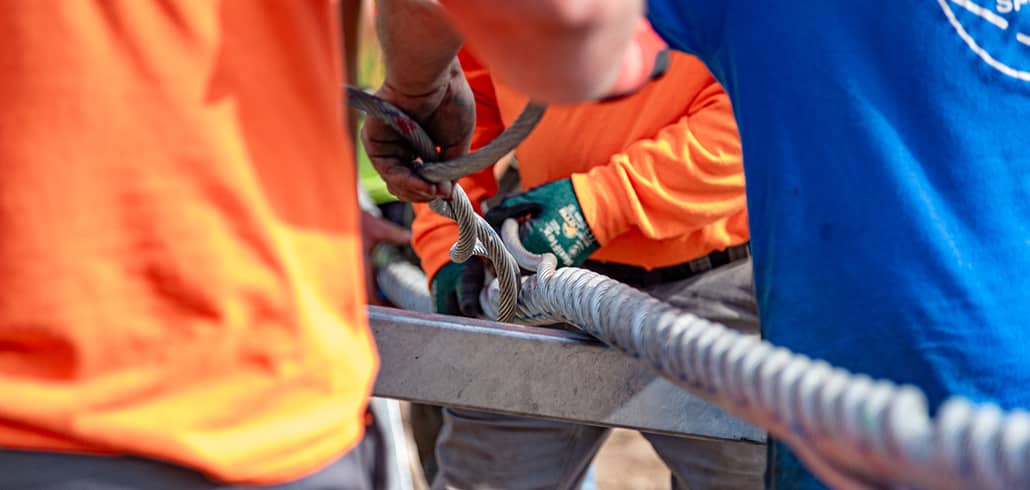
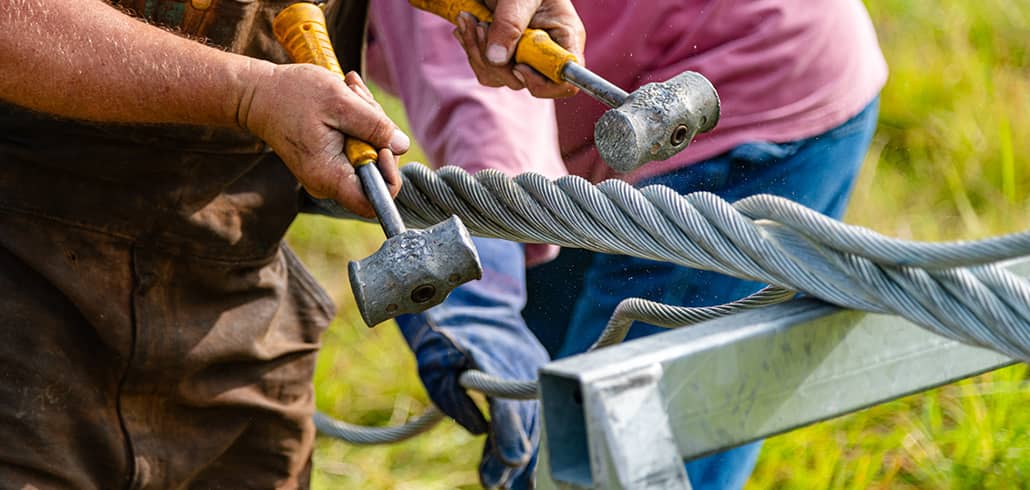
Step 5: Tail Straightening and Taping
Believe it or not, we're almost done. Now that the tails are ready to be tucked, they are straightened, and wrapped with rubber tape. This is a key step, as the rubber tape turns the tail's outer diameter into the same as the core, which it replaces.
Brian explains that "this ensures the tuck points are still the same diameter as the rest of the rope because at any point throughout the day, one of the grips could land onto a tuck, and clamp right onto it, so it needs to be the same diameter so the grip is doing exactly what it's supposed to do."
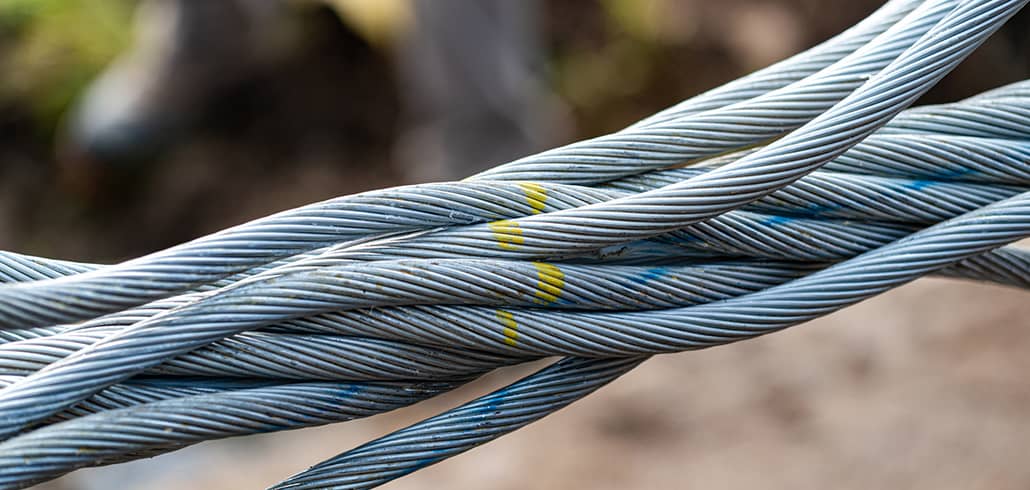
Step 6: Tucking Tails
Once the tails are taped, they are all tucked into the rope, creating one seamless loop. At this point of the process, the splice is effectively complete, and the rope is ready to receive its first chair.
The strength of a splice is incredible, which Brain explains simply for us. "The harder you pull, the stronger it gets. Like a finger trap, when you take tension off everything relaxes, but as soon as you pull, the weave gets tighter and higher. So the more tension on the rope, the stronger it is."
"And that's, rope splicing" Brain says as he sits back.
With this crucial step completed, and cold air in the forecast, it's full speed ahead to complete the Barker 6. The next time you're riding a chairlift, don't forget to thank all of the lift mechanics who keep these amazing machines turning, all for our enjoyment.
-
Written by: Team Snow